Mastering Knife Skills

The knife is one of humanity's oldest and most essential tools. It has been used for various purposes throughout history, from hunting and survival to cooking and even crafting art. Its usage can never be overlooked, as mishandling a knife can lead to accidents, injuries, and even fatalities.
In the culinary world, proficiency in knife skills is considered an essential foundation for any aspiring kitchen master. Mastering knife skills not only improves efficiency in the kitchen but also ensures safety and consistency in the final product. So, if you are one of those who like to wield this sharp object for basic cooking use or set up to become an expert, this article is here to guide you in this journey.
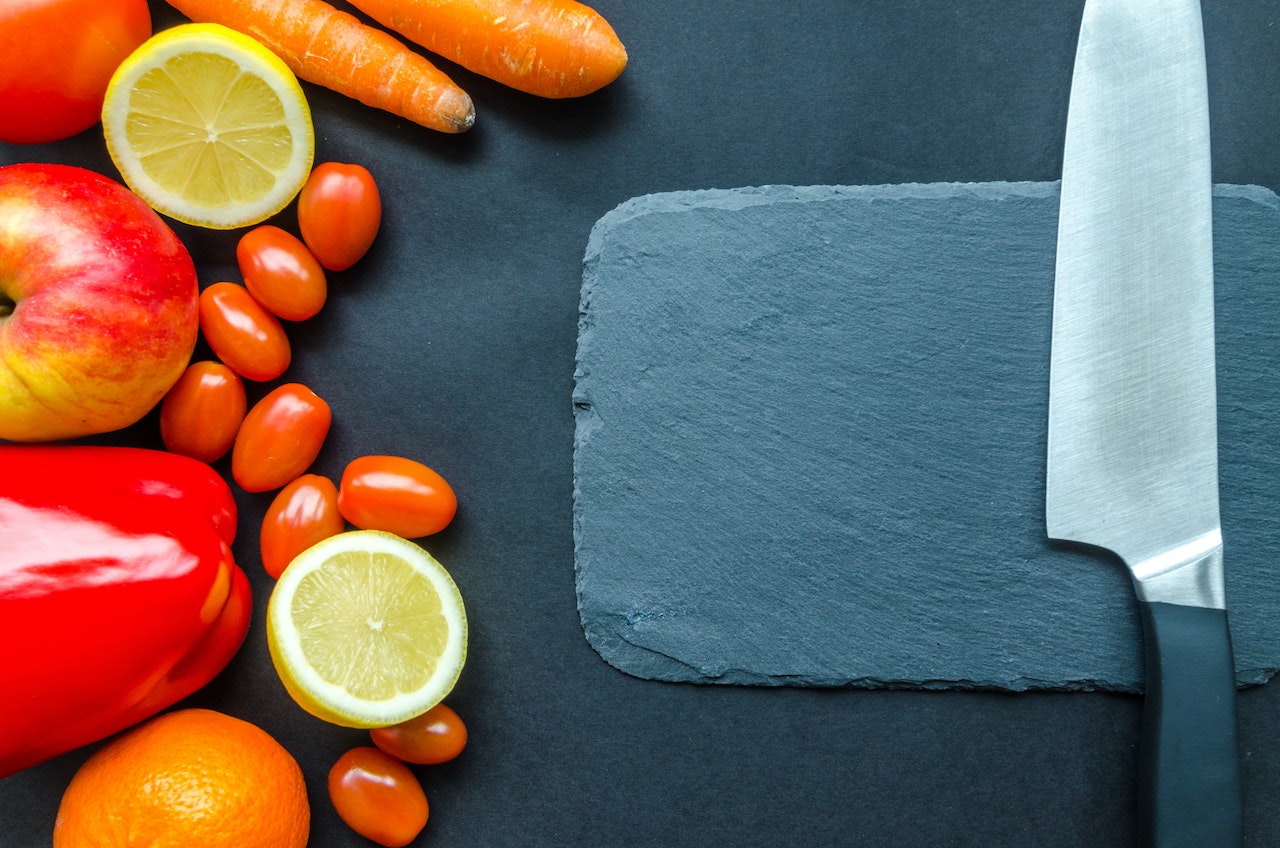
Guide on Knife Selection
Every chef should have a few different knives on hand and be mindful of their application. Always consider the weight and length of the blade you need for each cut. Knowing which knife to use for each application will help preserve your knives.
For easier instructions, the chef's knife has a blade that weighs 8 to 10 inches, ideal for slicing large, firm vegetables or carving and slicing meats. An 8-inch serrated knife is suitable for slicing bread, pies, and tomatoes. Meanwhile, choose a 3.5- to 5-inch paring knife for precision work like slicing fruit or herbs.
The wider the blade, the more it is designed to cut vegetables and fruit and is less suitable for routine tasks like peeling. The narrow blade is more suitable for cutting raw meat or fish and could be better for quick cuts.
Common Types of Knives and Their Uses
1. Chef's Knife
With a slightly more noticeable curvature at the blade's tip, this knife adapts to any cooking need. A chef's knife is versatile for slicing meat or vegetables.
2. Paring Knife
This knife is ideal for chopping vegetables, deveining seafood, and peeling fruit.
3. Utility Knife
This is a handy tool when precision is needed. Whether peeling vegetables or delicately slicing fruits and vegetables, this utility knife can cut bread and cakes.
4. Bread Knife
A larger version of the serrated utility knife, the bread knife's design is suitable for cutting bread cleanly without crushing the whole loaf.
5. Kitchen Shears
Whether cutting herbs, cutting vegetables, or slicing through meat, kitchen shears can do it all. Extremely sharp and with solid blades, kitchen shears make the ideal tool for cutting herbs for seasoning your dishes.
Basic Knife Cuts
Basic knife cuts are the starting point for any culinary masterpiece. They allow the chef to control the ingredients' size, shape and texture, ensuring even cooking and balanced flavors. Consistent cuts also enhance the aesthetics of the dish, demonstrating professionalism and care in the kitchen.
1. Julienne
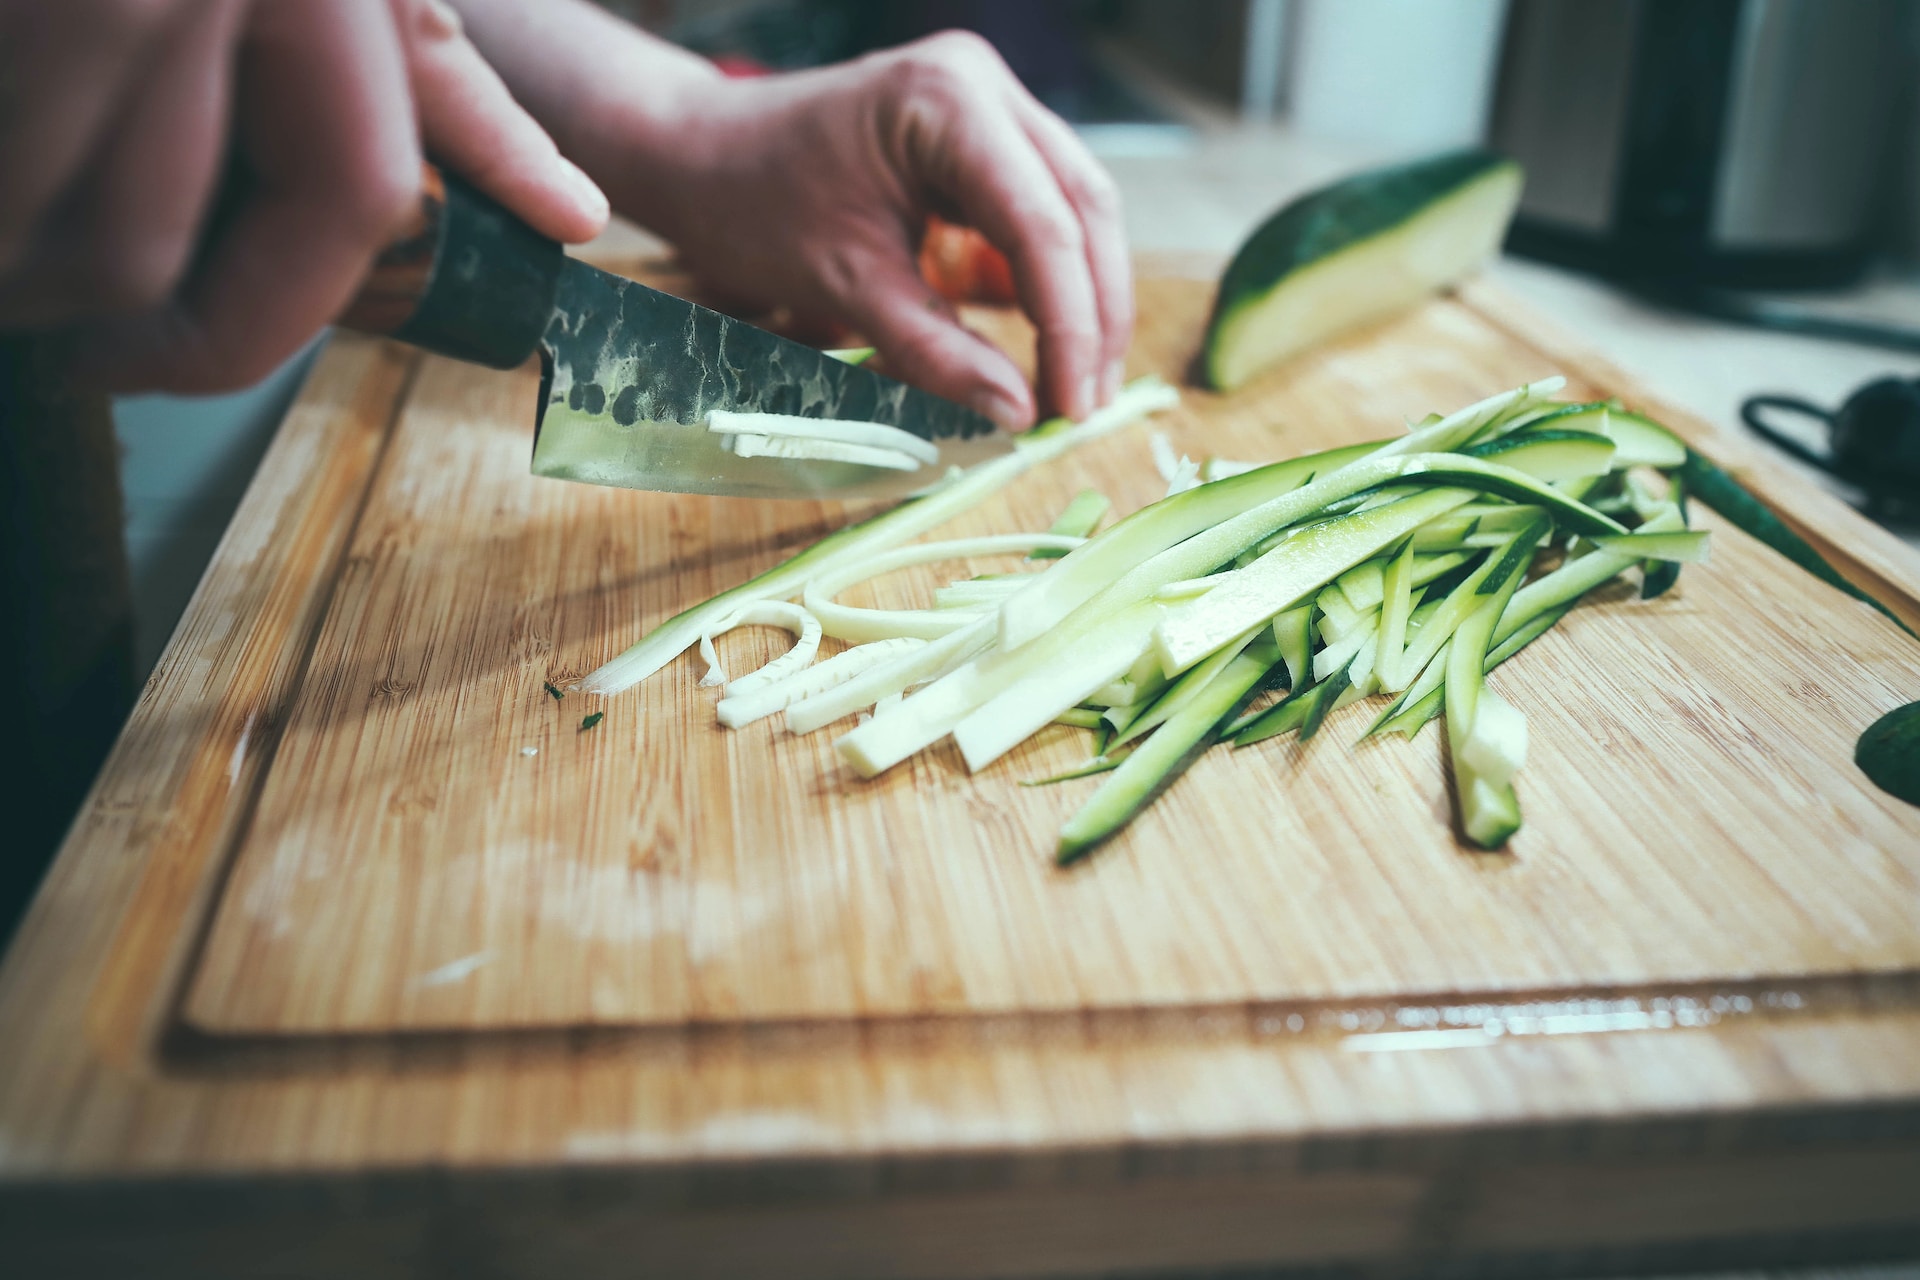
Julienne is also known for cutting the matchstick. As the name suggests, you need a thin, stick-like cut. To chop, cut vegetables in squares and cut lengthwise into 3mm thick rectangular slices. Then cut these slices into matchsticks. This is commonly used for stir-fries because ingredients cut this way cook evenly and quickly.
2. Dicing and Mincing
Dicing means cutting chunks into cube-shaped cuts that are 1/4 inch in size; there are three sizes: small, medium and large. This cut is ideal for dicing meat in any recipe. Meanwhile, mincing means you should chop them as small as possible. It is a thin, uneven cut that is good for garlic, parsley, herbs and nuts.
3. Baton
Thick-cut chips or steak fries are cut in about 8mm thick chunky batons. This is the largest stick cut and the intermediate step for the medium dice. Recipes for chunky stews often call for medium-diced carrots, potatoes, and meat, which you get after you chop up the batons into cubes.
4. Batonnet
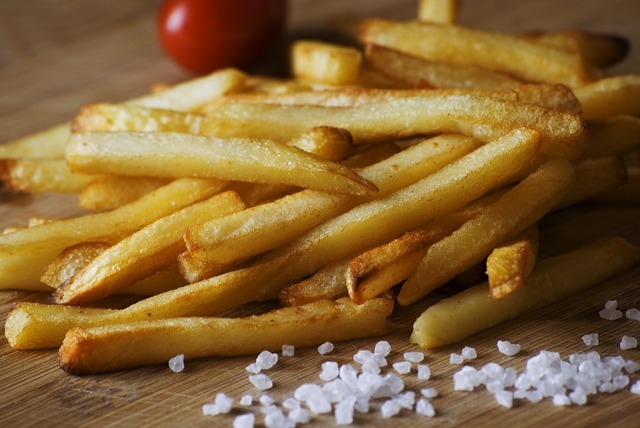
Some popular foods cut this way are fries and raw or root vegetables for dipping. To cut your vegetables into sticks, square them and cut lengthwise into 6mm thick rectangular slices before slicing them into 6mm sticks.
5. Brunoise
Brunoise is the thinnest dice and is derived from julienne. If the cut is smaller, the amount will be considered ground meat. Collect strips of shredded vegetables to brunoise, then cut them into 3mm cubes. This cut is often used for sauces like tomato puree or aromatic garnish.
6. Chiffonade
This cut involves stacking and rolling leafy greens like basil or spinach into a tight cylinder before slicing thinly. Chiffonade is used to create delicate greens ribbons for garnishing or incorporating them seamlessly into salads and pasta dishes.
Practical Steps for Safe Knife Handling
Proper Handling Position
Holding the knife properly will help you avoid injury and make cutting or slicing food easier. For more control and stability, your grip should be high on the handle, with your thumb and forefinger gripping the blade's heel.
The grip should be firm but tight, allowing control and maneuverability. The index finger and thumb should be placed on opposite sides of the blade, while the other fingers are wrapped around the handle for balance. The posture should be balanced, with the non-dominant hand as the guide for the knife. One can develop the skill and control needed to perform precise knife actions by practicing the correct grip and stance.
Safety, Efficiency and Speed
Mishandling a knife can result in severe injuries. A sharp blade can cause deep cuts, while incorrect techniques might lead to slips and accidents. You may attend cooking classes, and they will teach you how properly bend your fingers to protect the tips and how to hold the knife properly so you can cut food in a controlled manner without sending the blade flying in all directions.
Further, knowing the basic steps to handle a knife correctly improves efficiency and precision in various tasks. Whether it's cooking, crafting, or any other activity, a well-handled blade ensures better results. Do not rush; every good thing takes time. You can learn to cut slower and gradually practice and slice faster, saving you time and quickly cutting any food before you without figuring out the best way to reach it first.
Also, work on a stable surface to prevent the knife from slipping or wobbling. Use a cutting board that doesn't move during use. On the other hand, ensure that the blade is sharp. Remember, a dull knife requires more force, increasing the chances of cutting accidents.
Knife Care and Storage
It is impossible to master a knife without learning how to care for it. This includes washing them, removing rust, handling the handles, avoiding dents and bent blades, and more. Hand wash knives instead of using a dishwasher. Dishwashing can damage the blade and handle, reducing the knife's lifespan.
When not used, store knives in a knife block, magnetic strip, or blade guards. This prevents accidental contact and keeps the blades sharp. While basic kitchen knife skills at home often keep knives in good condition, knowing how their expert knife care professionals can help you extend the life of your knives.
Knife Sharpening vs. Honing
An important distinction you must learn is the difference between honing and sharpening and how to do both. The equipment you'll use for each is different, and doing one doesn't eliminate the need to do the other - just because sharpening a blade, for example, doesn't mean you'll never need to hone it.
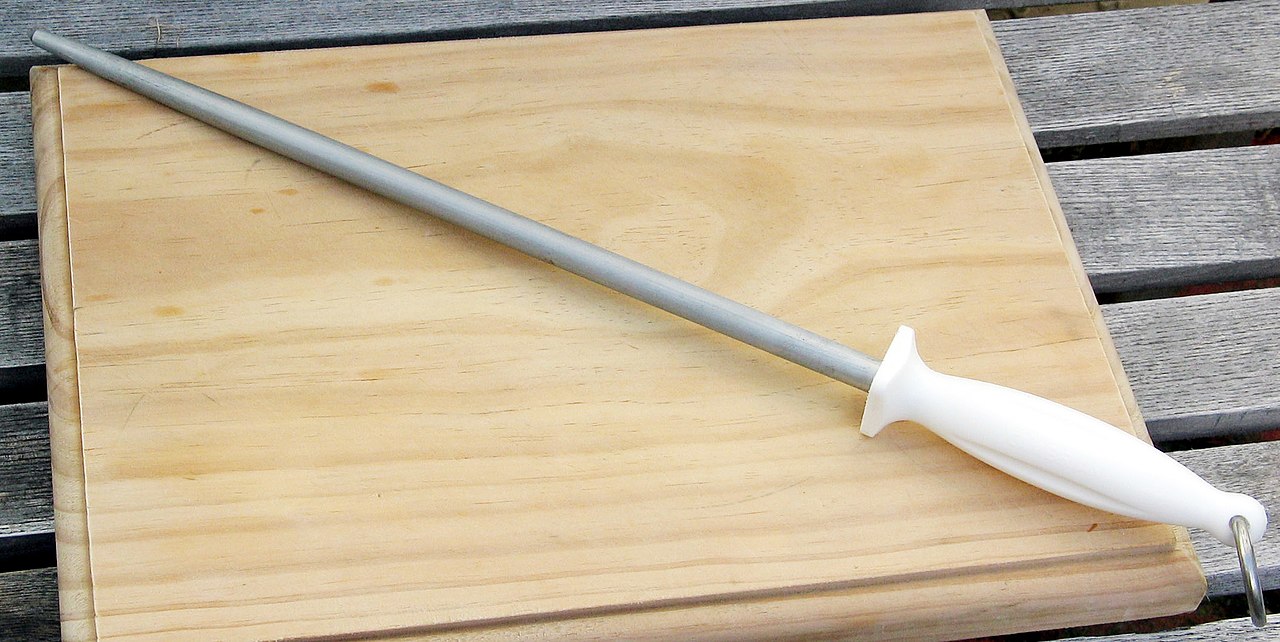
a. Honing
This is realigning a knife blade's microscopic edge without removing significant amounts of metal. Honing is typically done using a honing steel, a sharpening or honing rod. This tool is usually made of a rigid material, such as steel or ceramic, and has a smooth or ridged surface.
The purpose of honing is to correct any slight blade deviation due to frequent use. When using a knife, the edges may be slightly curved or bent due to contact with the cutting board and other surfaces. Grinding straightens this edge, restoring its sharpness and allowing the knife to cut more efficiently. It doesn't remove material from the blade but reshapes the edge to a more optimal angle.
b. Sharpening
Knife sharpening involves removing a small metal part from the blade to create a new sharp edge. This process is more intensive than honing and is often necessary when the knife becomes dull from wear and use over time—sharpening restores sharpness by removing worn edges and revealing new sharp edges.
Sharpening should be done less frequently than honing, as removing too much material from the blade during sharpening can eventually shorten the knife's lifespan. Depending on the frequency of use, knives may need to be sharpened a few times a year or even less often.
Always consider that maintaining your knife blades will make your work easier, faster and, most importantly, safer.
Conclusion
Understanding the anatomy of a kitchen knife, such as learning the proper grip and stance, identifying the blade types and their uses, familiarizing oneself with different cutting techniques, and practicing regularly, are all critical steps toward mastering cooking. From safety and style to efficiency and precision, mastering knife skills is a lifelong process worth it for ensuring your safety while creating the best dishes for your loved ones.